This was made with just a few sculptural changes to our digital 3-D print file of Marrok. I added the tooth along with a few sculptural changes to the face for a quick design Anooba. I thought the Star Wars creature would pose nicely with our custom of Osi Sobeck since they appeared together onscreen in the Clone Wars Citadel arc. Perfect for recreating the death of Even Piell too!
AGE APPROPRIATE WARNING
Friday, March 11, 2022
Thursday, March 10, 2022
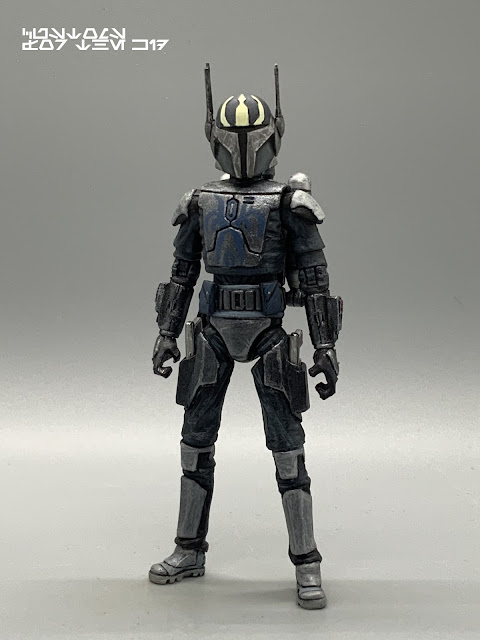
"THE CLONE WARS" PHASE II PRE VIZSLA created by Elias
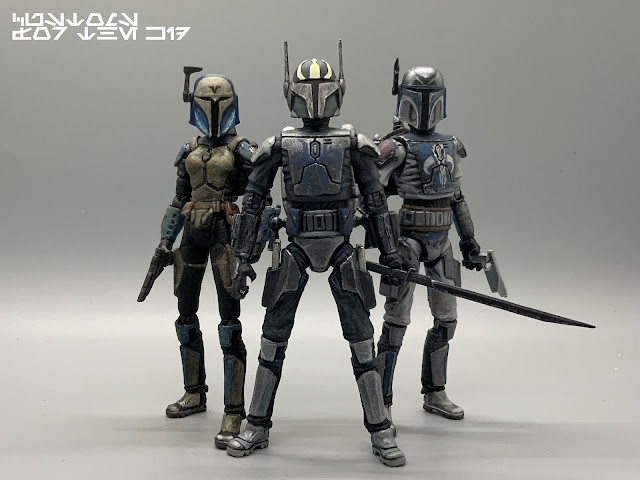
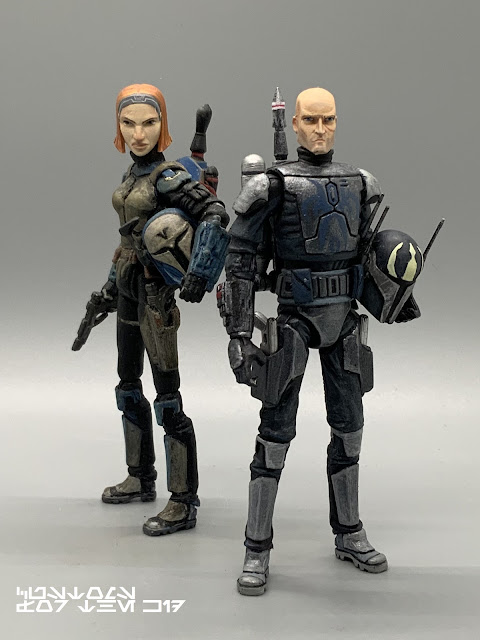
This is our second version of Pre Vizsla in this form. This latest version was a commission that is sporting a new headsculpt I cooked up just for this project. Like our first version the two pockets along his belt are magnetized and removable. We again used the 3D printed jetpack and helmet from Audes Workshop on eBay It made the project go a lot faster and helped keep costs lower. This time around I sculpted the forearms instead of the Cad Bane gauntlets Dad used in our first version.
Another figure that will be heading off to another home.
Monday, March 7, 2022
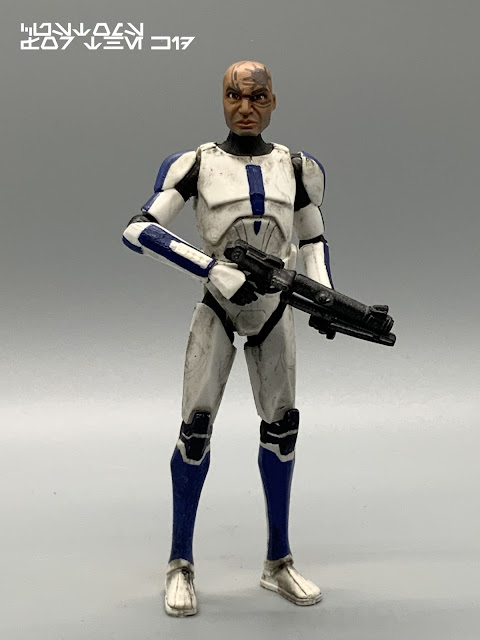
"THE CLONE WARS" CLONE TROOPER JESSE created by Elias & Wraithnine
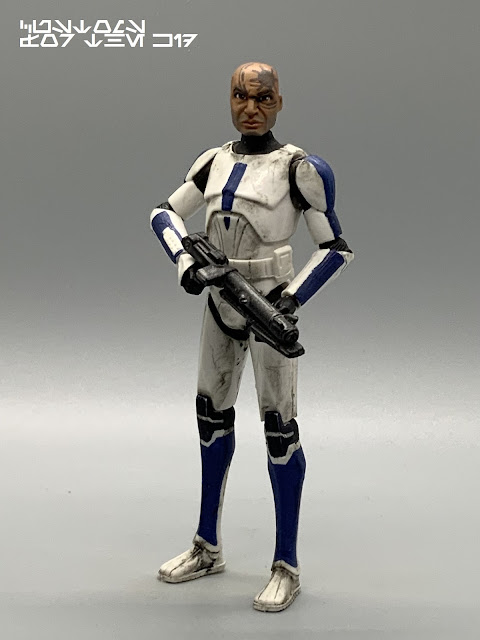
For this custom, Wraithnine painted the body and helmet of Jesse. I only painted the head for a commission that I had, and then placed it on the custom figure on my shelf. Makes me want to add heads to the rest of the 501st clones that Wraithnine made for me. He did such a great job weathering them, it would be a shame to not give them an option of being helmetless too.
Friday, March 4, 2022
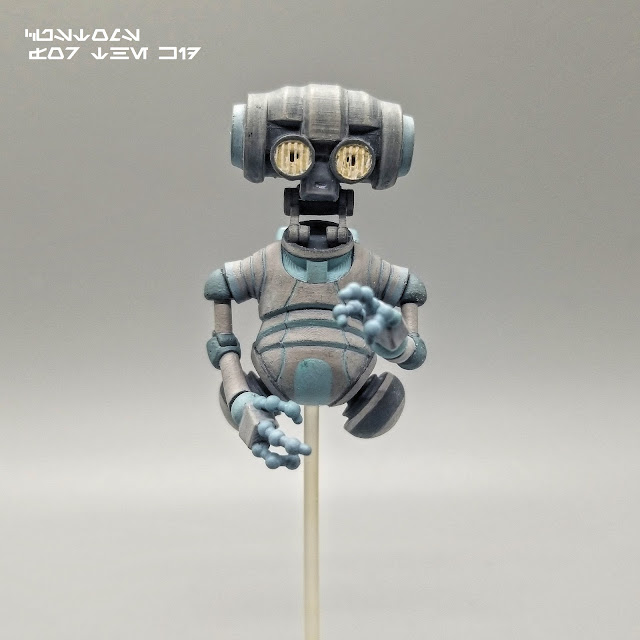
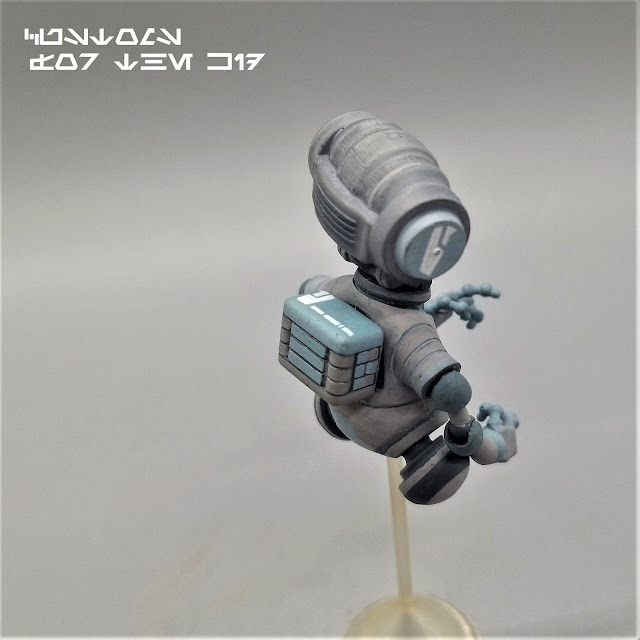
"AZI-345211896246498721347" by Elias
This articulated action figure of AZI was made from a combination of two different kits we purchased from sellers we found on the internet. The SKYLU 3D Design body that we utilized we purchased from Outer Rim Traders. It provided us with swivel shoulders and wrists as well as hinge elbows. The head we got from a kit we bought from Scoundrels Stock. After assembling the body and making a few special modifications myself to be sure the head was properly affixed to the body, I painted him up including all his fine details. Lastly, I placed the painted figure on a clear stand that I designed on my laptop and then printed on my 3D printer to make the figure float up off the ground. I'm happy to say he balanced well once I inserted the clear resin stand into the figure. I can call this figure completed. The only change I would make is not post-curing the resin stand under the UV light. It seemed to add a yellow tinge to the clear resin. I will skip that step next time I print with that resin.